网站首页 >> 新闻中心
志在德纳,共创未来
—— 2025年新员工集训圆满落幕
2025年9月23日,以“志在德纳 共创未来”为主题的新员工集训顺利举行。37位近一年入职的来自生产、质管、研发、销售等多个部门的新伙伴齐聚一堂,带着对德纳和职场的期待,共同开启了一天的融合之旅。 高管寄语 初识德纳 ...
发布时间:2025-09-30
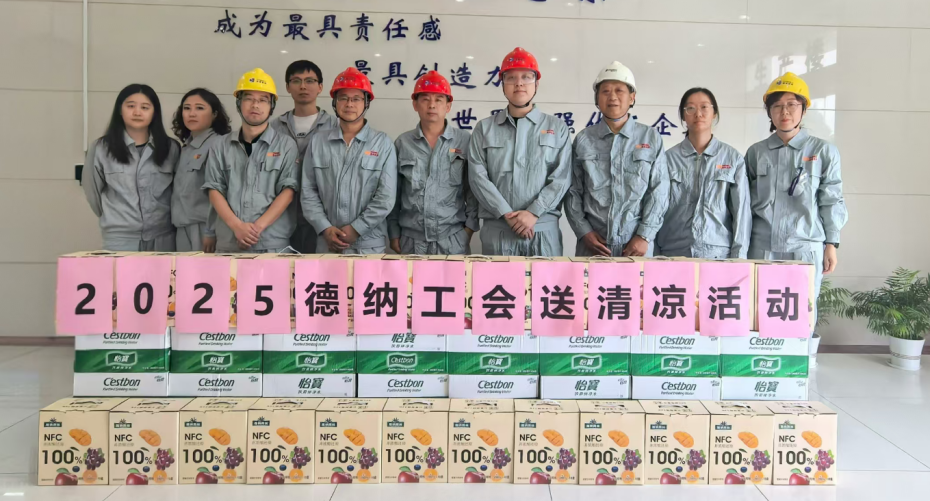
一份清凉 万分敬意
—— 德纳工会开展“送清凉”活动,关怀一线员工
连日来,持续35℃以上的高温炙烤着大地,也考验着坚守在岗位上的劳动者。半岛online(中国)高管团队心系奋战在高温一线的员工,8月19日上午,公司总经理助理秦翊涵、总经理孙家兴、工会主席王锡生、人力行政中心总监经艳燕一行,带着公司的...
发布时间:2025-08-20
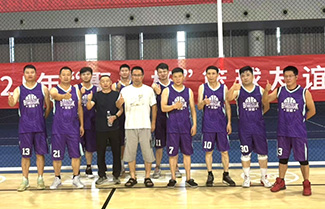
以球聚力促交流 德纳篮球创佳绩
—— 德纳篮球队荣获2025园区“聚力杯”亚军
2025年8月3日,新材料科技园“聚力杯”篮球友谊赛在龙山湖未来体育中心圆满结束。经过为期四天紧张激烈、精彩纷呈的角逐,我司篮球队凭借出色的团队协作和顽强的拼搏精神,最终在巅峰对决中以微弱分差惜败,勇夺本次比赛亚...
发布时间:2025-08-14
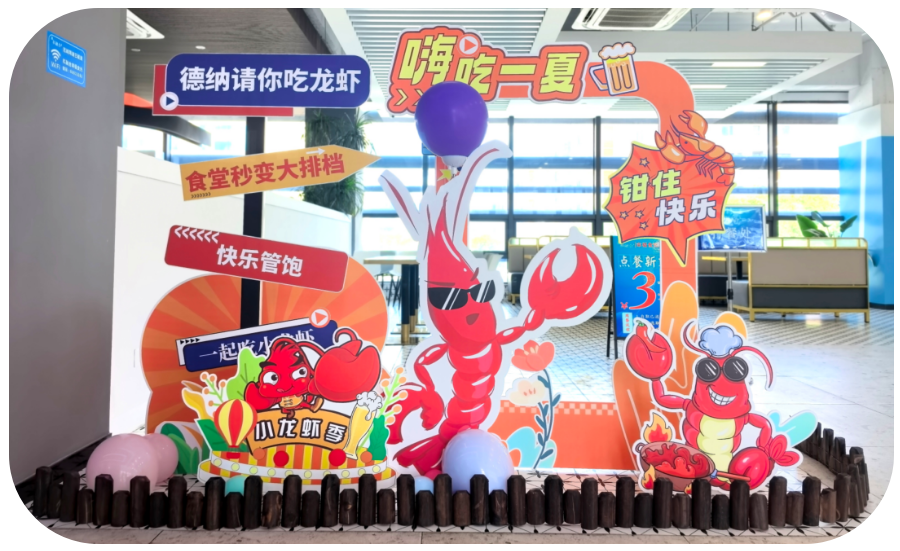
钳住快乐,嗨吃一夏
—— 德纳夏日龙虾节圆满结束
7月28日,为期四天的德纳夏日龙虾节,在满堂鲜香与欢声笑语里圆满结束。这场专属于味蕾的夏日狂欢,以盛夏特有的鲜美滋味,尽情犒赏着每一位德纳人。 双味争霸,舌尖上的狂欢盛宴 ...
发布时间:2025-07-28
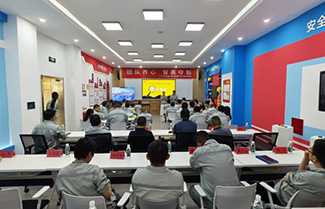
团队齐心,智勇夺魁
—— 第二届“敬业杯”员工知识竞赛圆满落幕
2025年6月26日,公司第二届“敬业杯”员工知识竞赛在热烈的氛围中成功举办。本次竞赛紧密结合全国安全生产月“人人讲安全,个个会应急——查找身边的安全隐患”这一主题,深度融入公司&ld...
发布时间:2025-07-03
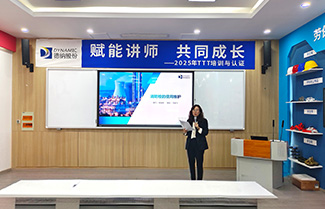
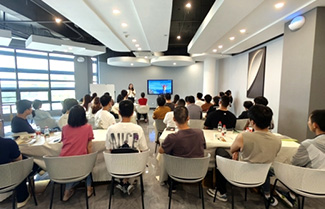
赋能讲师,共同成长
—— 半岛online(中国)2025年度内训师认证圆满收官
历经两个月的淬炼与沉淀,半岛online(中国)2025年度内训师认证工作圆满收官!22名学员在系统化培养中实现自我突破,顺利通过认证,光荣加入公司内训师队伍。 自今年3月起,学员们开启内训师成长之旅。依托“集中短训、微群磨课、现场演练、决胜...
发布时间:2025-06-10

扫一扫
浏览我司移动平台
半岛网页版页面 版权所有(C)2024 网络支持 生意社 化工网 生意宝 著作权声明 网站地图 备案序号:苏ICP备05012787号